
Nerd content ahead – and basic tracking knowledge assumed: In this blog article, we explain how you can track Contact Form 7 (CF7) with Google Tag Manager for your marketing channels.
WordPress is currently one of the most popular CMSs for websites. And for good reason, because web projects can be implemented relatively easily and many (free) plug-ins support the individualisation of one’s own website. If you want to offer a contact form on your WordPress website, you will sooner or later come across Contact Form 7.
We will now explain how to integrate the WordPress plugin via the Google Tag Manager. Please keep in mind that this article is something for advanced trackers. You should therefore already have a basic knowledge of terms such as “DataLayer” and “DOM Event”.
Contact Form 7 is based on AJAX, so after submitting the form, the website is not reloaded. Therefore, the plugin offers various DOM events that we can read out in the tag manager.
The following list shows DOM Events that fire on successful form submission and show you various results:
To set up tracking, first create an auxiliary tag in your GTM container. This auxiliary tag creates the required DataLayer for the CF7 form.
First create a new tag and name it. We like to use the Helper ContactForm7 Listener.
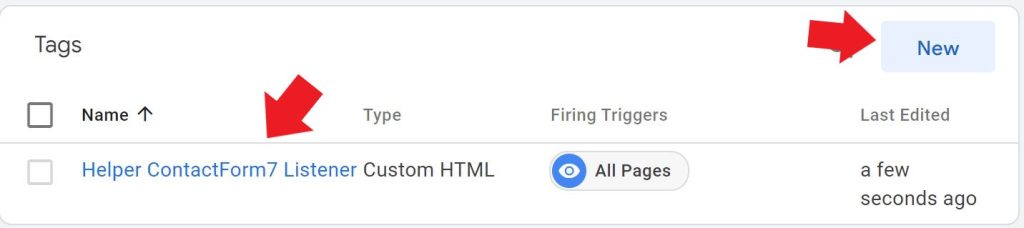
Select Custom HTML in the tag configuration and insert the following code snippet. The trigger is All Pages.
<script>
document.addEventListener( 'wpcf7mailsent', function( event ) {
    dataLayer.push({
       'event' : 'wpcf7successfulsubmit',
       'CF7formID' : event.detail.contactFormId
    });
    }, false );
</script>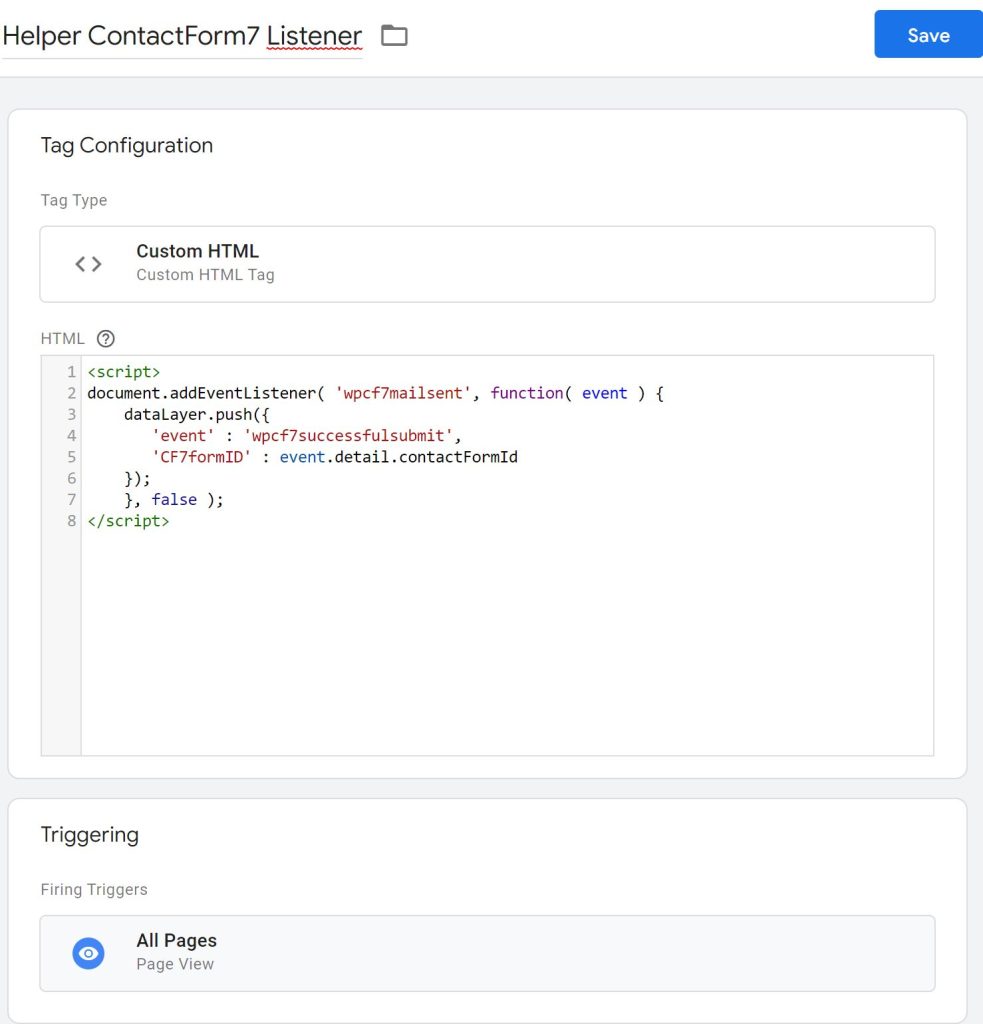
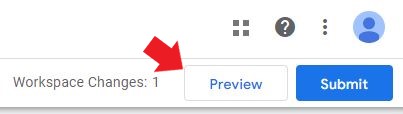
Before you continue, first test the tag you just created in debug mode.
In the overview, you can see whether the helper you just created triggers on every page you call up.

In the next steps we will show you further useful or necessary preparations.
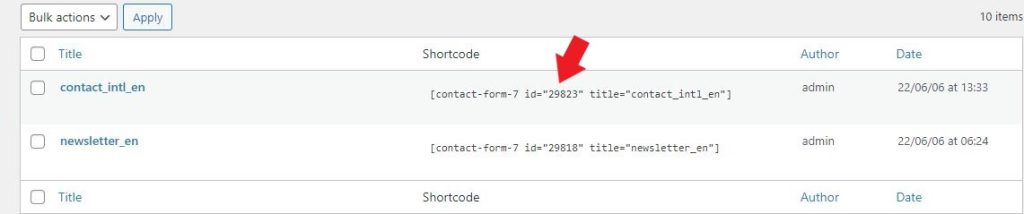
If you use several forms on the website, we recommend that you introduce a variable for the FormID. The ID is automatically created by the plugin in WordPress for each individual form. You can view it at any time in the plugin under “Forms -> Contact forms”.
In order to have this unique ID sent by the GTM, a separate variable is required. To do this, create a user-defined variable with the configuration of the type Data Layer Variable. We recommend that you use two unique names that reflect the purpose of the variable.

In principle, it is only a little effort to include the form ID from the beginning, even if you are currently only using a contact form. We therefore recommend implementing this at the same time.
The required trigger is a Custom Event. The event name must match the name in the helper, for example, in our case it is “wpcf7successfulsubmit”. In principle, you can also choose other event names here.
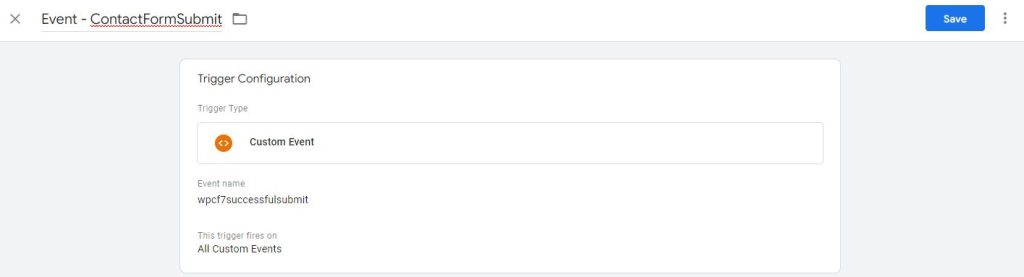
You can also choose Some Custom Events instead of All Custom Events and use the variable DataLayer – CF7formID you just created to track a specific contact form.
If you work with Some Custom Events, we have a little tip for you: name the trigger by including either the name of the form or the page on which it is triggered. This will help you to keep track if you want to use several triggers.
The first important steps are now done. Let’s leave the complicated part behind and move on to creating the link to Google Analytics.
The creation of the tag for Google Ads or others is done in the same way with our previously prepared events and variables. Let’s start with the old Analytics, which will run at least until July 2023 (unless you use the paid 360 version).
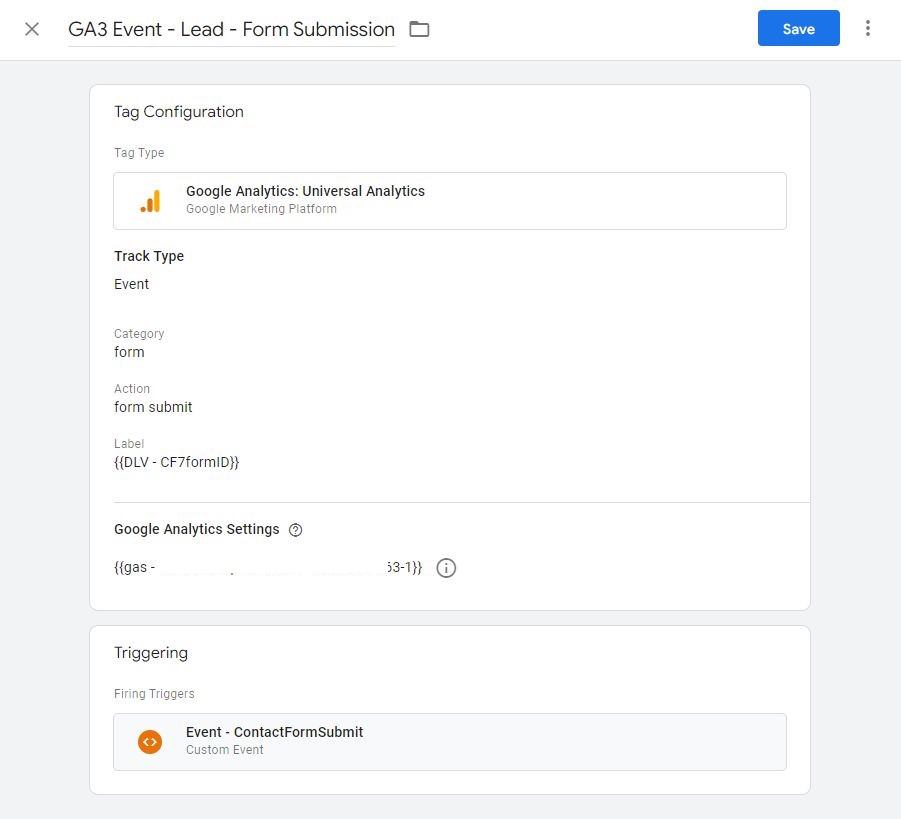
In ourr example tag, we also have the form ID transferred to Analytics as a label. This is particularly useful with several forms, in order to be able to sort the data later and analyse it better.
| Tag Type | Google Analytics: Universal Analytics |
| Track Type | Event |
| Category | form submission |
| Action | form submit |
| Label | {{DataLayer – CF7formID}} |
| Google Analytics setting | [your Google Analytics Default Settings] |
Google Analytics 4, the unjustly unloved little brother of Universal Analytics, makes it easier to create the GTM tag. We don’t have to suck categories or actions out of our fingers that end up being duplicated. Or the content doesn’t really fit the umbrella term. If, for example, you want to display several other parameters in addition to the ID, it becomes very crowded in the areas and if you divide everything into one area, it is difficult to sort.
But let’s look at the basic tag first: Here you only need an event name and, if you want, the parameters mentioned above. I have very simply chosen form_submission as the event name and I also send the form ID as a parameter. Other possible parameters are e.g. form name, form language (for multilingual websites) or page path.
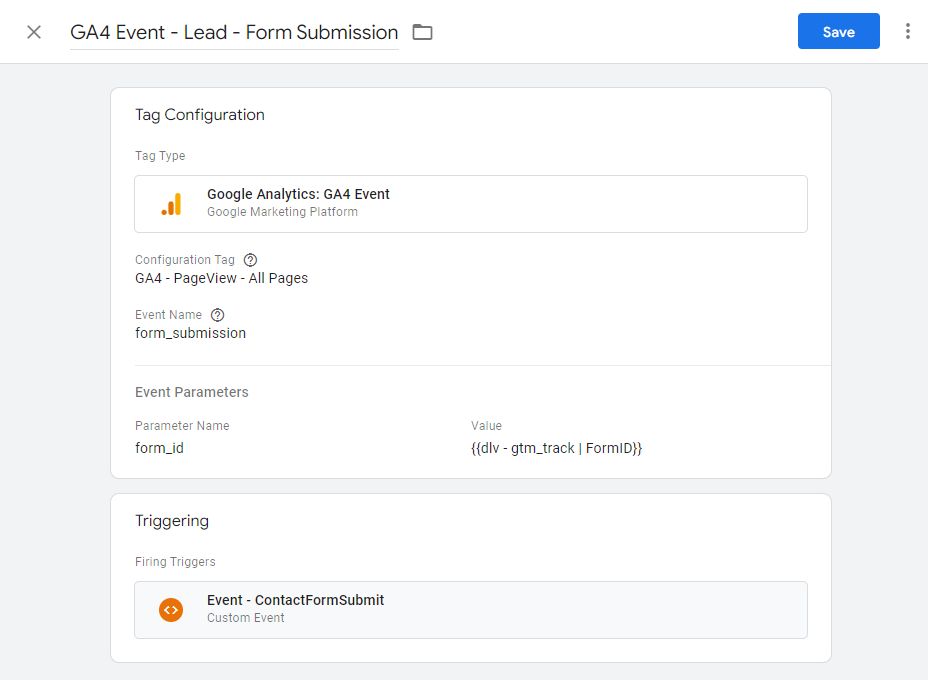
Remember to briefly check your event and parameter names against Google’s Recommended Events preferably using Google’s usual nomenclature, and include the parameters in GA4 under Custom Dimensions.
Now you are ready to test your form tracking before you go live. It’s up to you whether you create all your required tags beforehand, including those for Google Ads or Facebook. But before testing, remember to reload the Tag Manager and switch back to preview mode to really check the updated version.
Find your form, fill it out and submit it. The event should now be visible in debug mode. If this does not happen, you should check all the names again. There may be spelling mistakes here, so be sure to check for upper and lower case. If you use several forms with different triggers, repeat this with all other forms or the different pages.
One last tip: Incomplete forms should not trigger the tag. Therefore, test this scenario as well.